
If you are traveling to the Philippines, we recommend that you purchase a local Philippine SIM card or an eSIM (such as those from Holafly, Sim Local, or Airalo) so that you can have internet access on your smartphone at all times and enjoy the benefits of it: you can stay in touch with your friends and family, upload photos and videos to social media, search for information, make cheap local calls to accommodations and/or operators, use Google Maps and other apps, etc.
In this article, we tell you everything you need to know to buy a SIM card or eSIM in the Philippines: which companies are available, which is best, whether a physical SIM or an eSIM is better, what data plans and prices they offer, how to top up your balance and purchase more internet, how to make local calls, etc.
Contents
Philippines Mobile Network Companies (local SIM card)
There are three phone companies in the Philippines, although two are the main ones with the most coverage (Globe and Smart):
- Globe: one of the main operators in the Philippines (check Globe coverage here). Approximate price: 8GB for 100 pesos (€1.50)
- Smart: the other main operator (check Smart coverage here). Approximate price: 10GB for 100 pesos (€1.50) for one month.
- Ditto: a new operator that the country has allowed in recent years to break the “duopoly of Globe and Smart, although it has less coverage (check Ditto coverage here), so we would not choose this option
- Gomo: a completely digital brand owned by Globe (check Globe coverage here). They offer data plans with no expiration date, so it may be a good option. Approximate price: 15GB with no expiration date for 250 pesos (€3.70).
- TNT: same as above but from Smart (check Smart coverage here). They also offer data plans with no expiration date, as well as specific packages for video or similar. Approximate price: 6GB with no expiration date for 200 pesos (€2.92).

Which SIM is better, Globe or Smart?
Globe and Smart are the two options we recommend if you want to buy a physical SIM card in the Philippines. Neither operator is better than the other, as Globe works better in some areas and Smart works better in others, so it’s impossible to be 100% right.
In our opinion, if there are two or more of you traveling, the best option is to buy at least one of each (a Globe SIM and a Smart SIM), so you always have options and can share data by tethering without any problems.
If you have to choose only one, in our experience, Globe worked better in most of the destinations we visited (except in Siquijor, where the internet was still quite poor in general), so we would opt for the Globe SIM card, although this could change in the future.
In any case, it is important to note that the quality of the internet connection in the Philippines is quite poor. Although it has been improving in recent years, it still fails quite a bit depending on the destination, and speeds are rather slow (below we provide speed tests with the SIM cards and eSIMs we tried).
Is it better to use an eSIM or a local physical SIM card?
When choosing between an eSIM or a local SIM, it is important to bear in mind that neither option is perfect and that each has its advantages and disadvantages.
In our opinion, the eSIM option is the easiest and most convenient in most cases, as you avoid wasting time buying a physical SIM card, inserting it into your phone, registering it, etc., and you arrive in the Philippines with internet already working on your phone.
If your phone does not support eSIM, you can try one of these adapters. It is a physical SIM card that you insert into your phone which allows you to install eSIMs through it.
On the other hand, a physical SIM card will give you a local number, which you can use to make calls or send SMS messages to local companies. It will be cheaper (depending on the amount of data you need) and you can top up and purchase data packages as needed.
There is an intermediate option, which is buying an eSIM from local operators (Globe and Smart). It is now possible to buy an eSIM from either of them, which will be cheaper (depending on the amount of data you need), although you will still have to register it and spend time on that process.

Where to buy the eSIM card
As we said, with an international eSIM you avoid wasting time going to buy a physical SIM, registering it, topping up your balance, and purchasing data packages, etc., plus you’ll have internet access as soon as you land. If you decide to buy an eSIM card, you have many options. Here we’ll tell you about the three we know of (for which we also offer you a discount):
- Holafly: you can choose the exact number of days for your trip and it has unlimited data, making it the easiest option and giving you complete peace of mind. It also allows you to share the connection with other devices (1GB per day). It costs between 1,5$ and 4$ per day depending on the number of days (the more days, the cheaper it is).
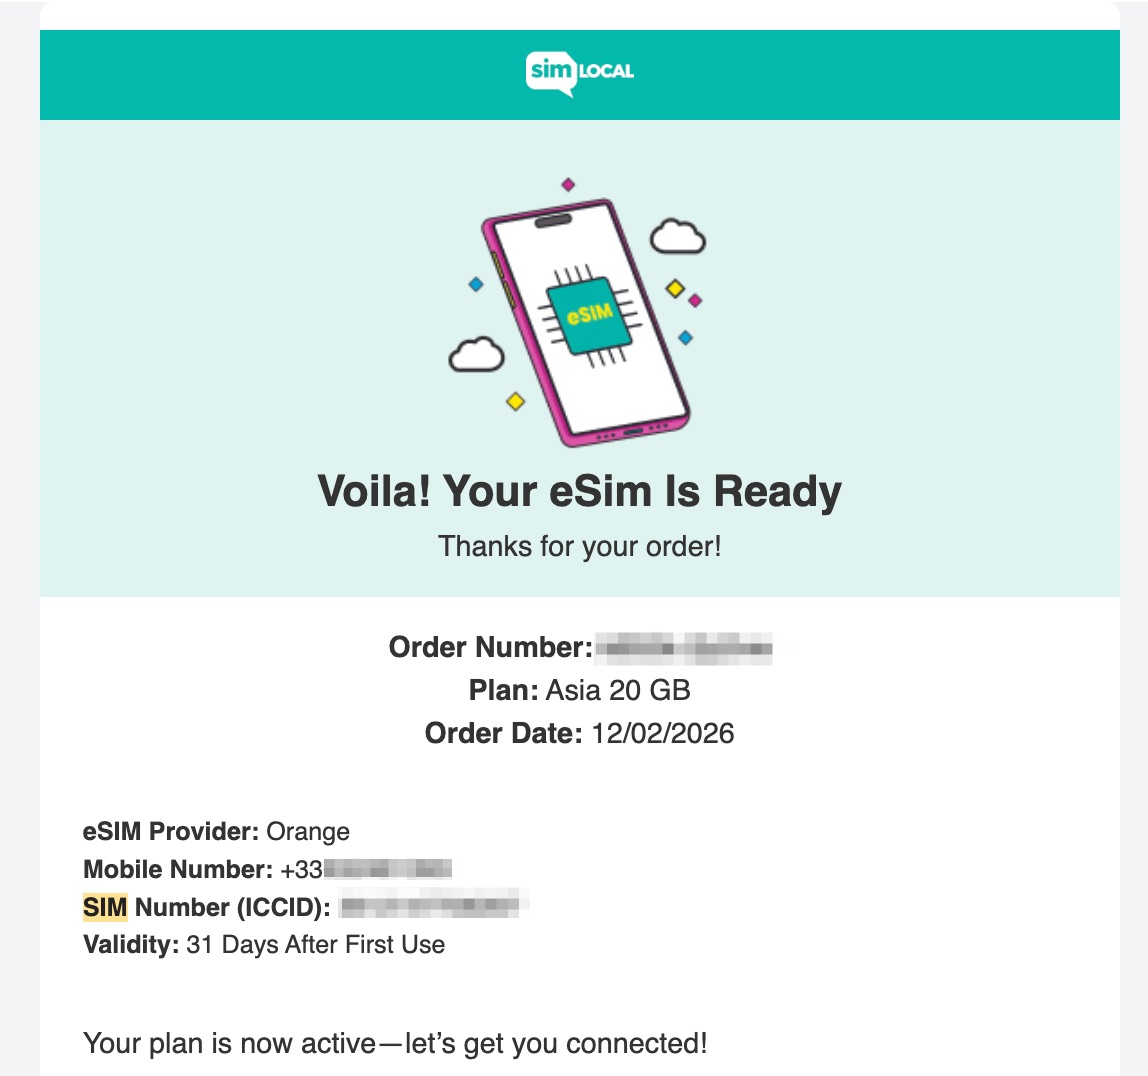
- SIM Local: offers both limited data plans (cheaper) and unlimited data plans for predefined numbers of days (7, 15, 30 days).
- Airalo: also offers unlimited or limited data plans for predefined numbers of days.
In all three cases, they offer both eSIMs for the Philippines only and eSIMs for Asia in general that are valid for several asian countries, so depending on your trip, one or the other may be more suitable for you. In our case, in the Philippines we used both Holaly (5G) and local SIM (the Asian one is 4G) eSIMs for Asia, as in addition to the Philippines we also visited Malaysia and Thailand, and both worked well in all countries:
Both eSIMs we tested (Holafly Asia and SIM Local Asia) connected to the Globe network.

You also have the option of purchasing Globe or Smart eSIMs directly. In principle, they should be cheaper, but you will still have to go through the registration process. You can find more information about Globe and Smart eSIMs and their sub-brands here:
In both cases, they will come with some kind of data package, and you can then top up and purchase more packages in the same way as we explain below for physical SIM cards from the same operators, using their official apps. You can register from your home country, so that you arrive in the Philippines with your SIM card already activated.
How to install eSIMs
Installing eSIMs on your phone is super easy. Once you make your purchase, you will receive the necessary information in your email.

If you have an iPhone, on most devices (all those with iOS 17.4 or later), you can install the eSIM simply by scanning the QR code that will be sent to you (remember to do the installation from a device with a stable internet connection, either with data or Wi-Fi).

In all other cases, you will have to perform a manual installation, which is also very easy. Just follow the instructions provided in the email you will receive.

Once you activate the eSIM, the days will start counting down, so it’s best to install it just before boarding your outbound flight.
Internet speed with Holafly and SIM Local in the Philippines
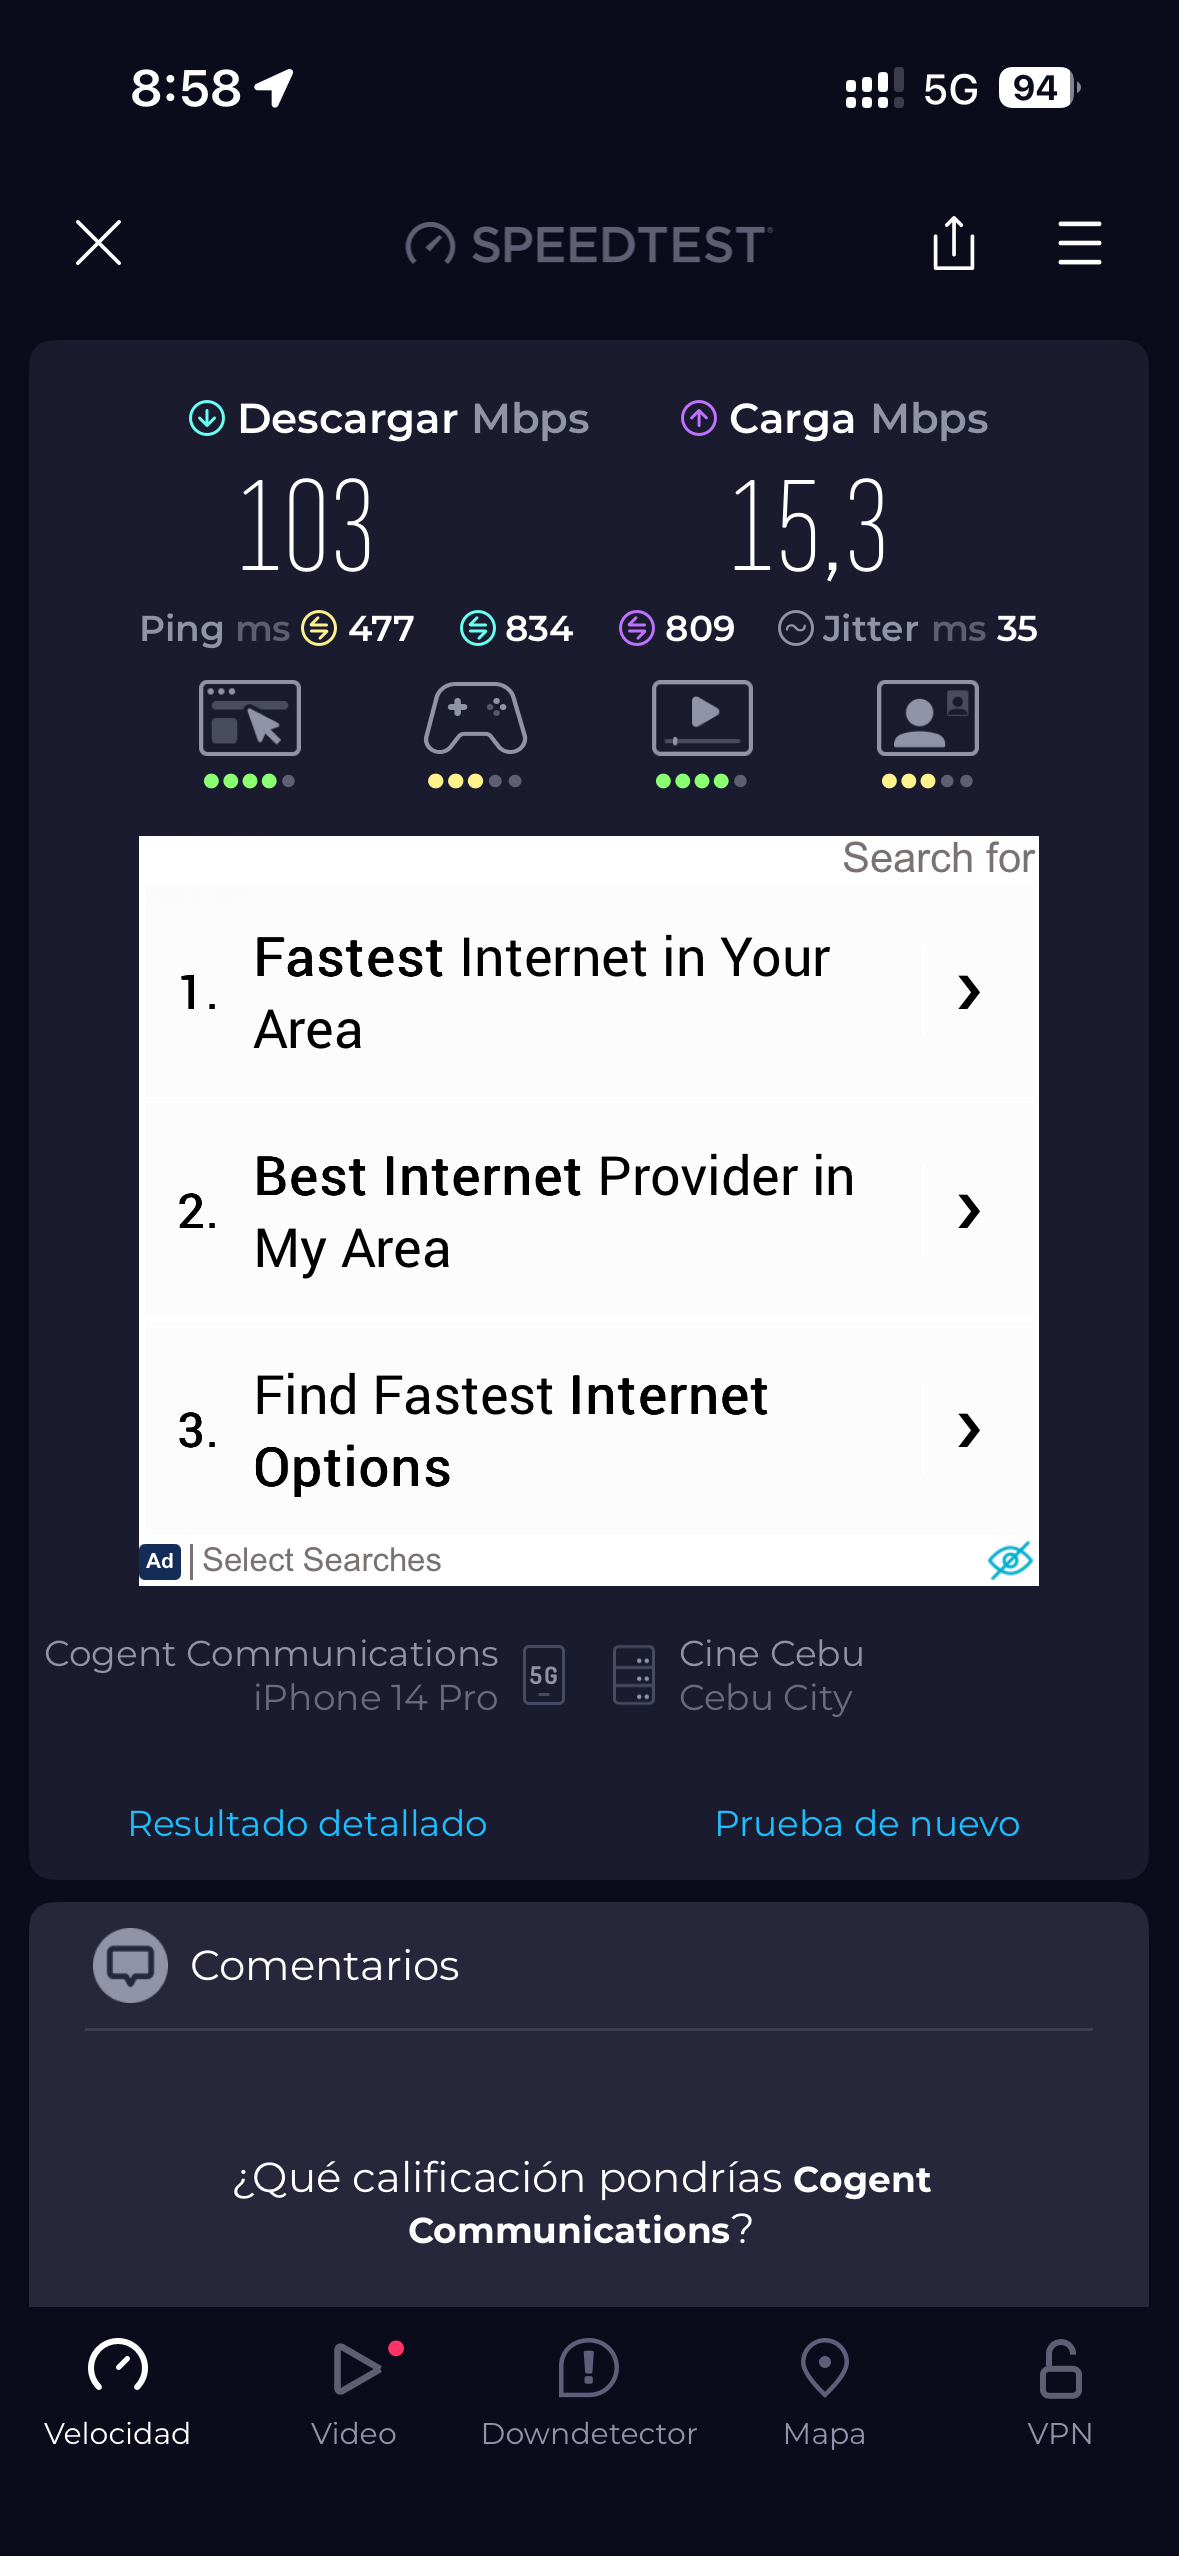
Below are several speed tests we conducted in various areas of the Philippines with our eSIMs (from Holafly and SIM Local):
Cebu Port – Holafly
Anda (Bohol) – Holafly
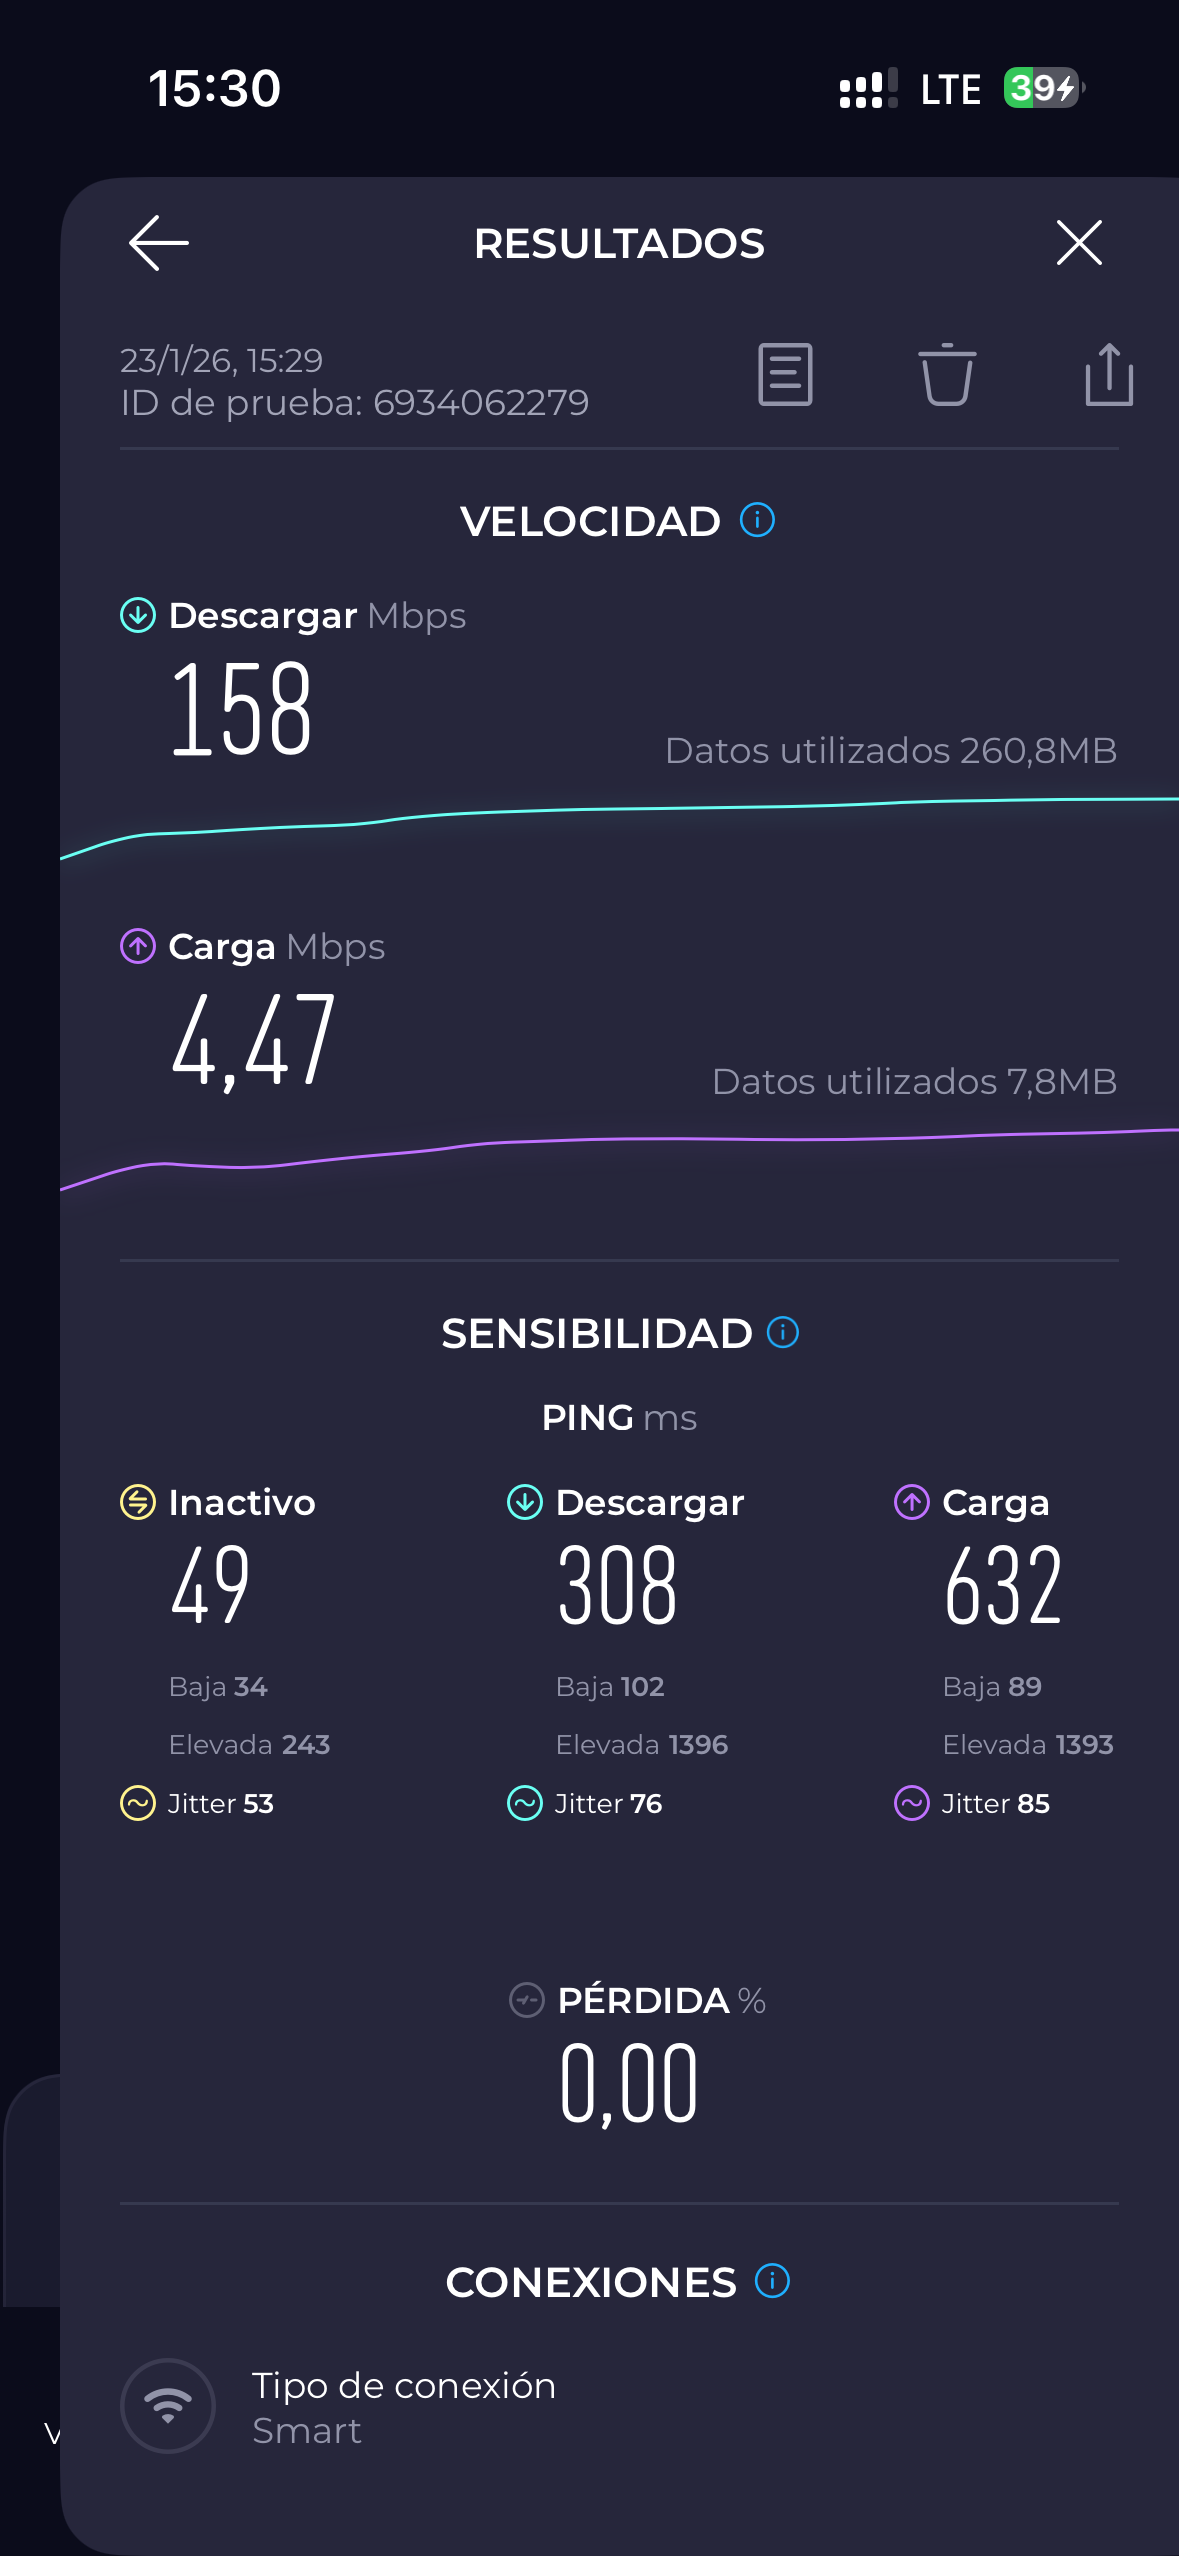
Alona Beach (Panglao) – Holafly
Camiguín – Holafly
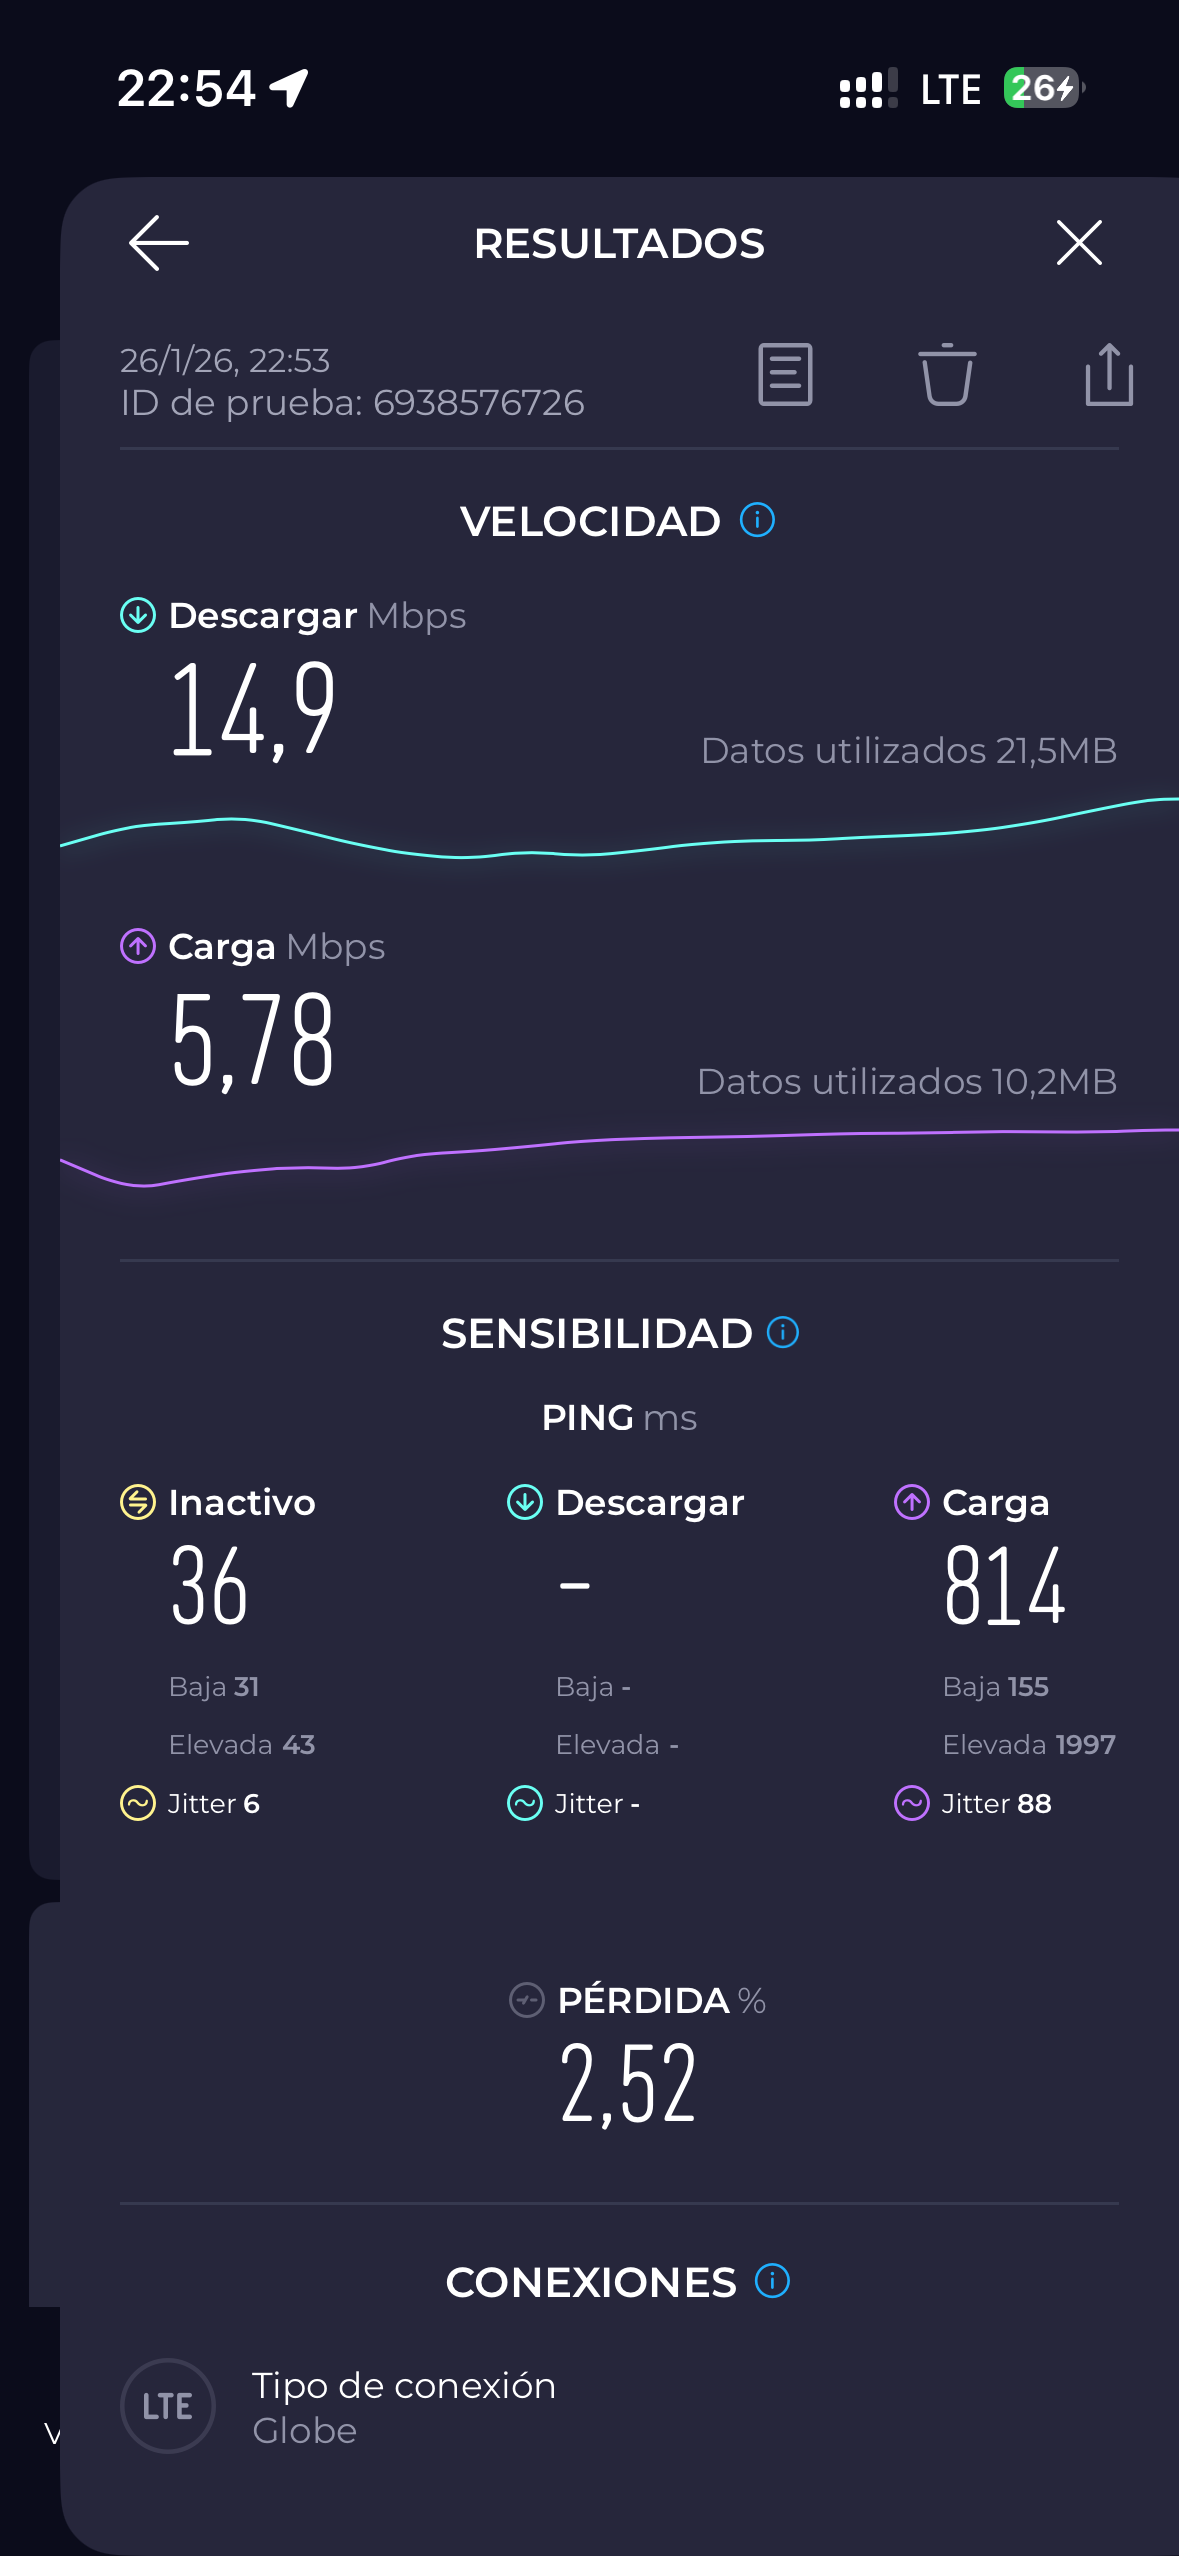
Siquijor – SIM Local
Where to buy a local SIM card (Globe or Smart) in the Philippines
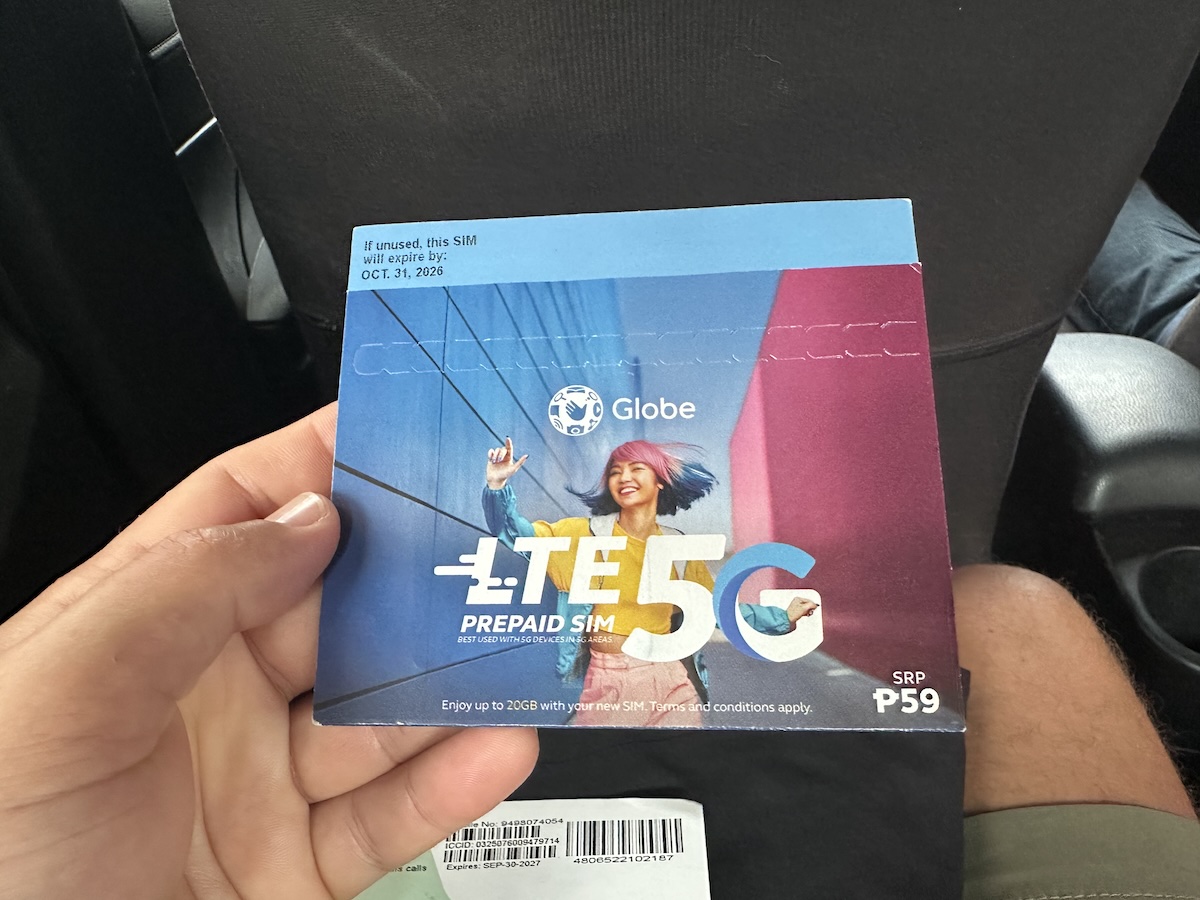
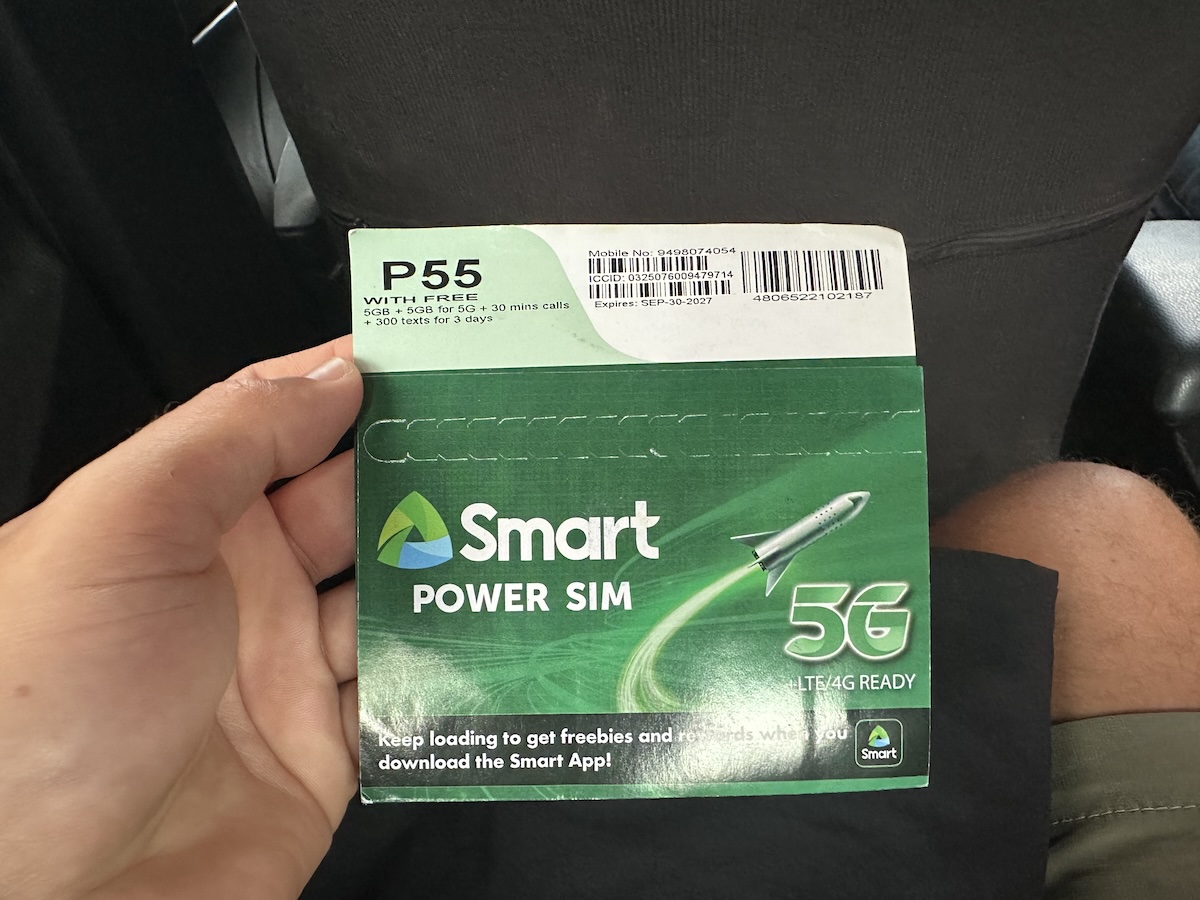
If possible, the cheapest option is normally to buy a physical SIM card once you arrive in the Philippines. You can buy one at any “sari-sari” (small shops that sell everything in the Philippines) or ask anyone to show you where to find one. The price of the Globe physical SIM card was 59 pesos in our case and the Smart card was 55 pesos (in both cases, a little less than 1$). Normally, the SIM card already includes about 7 days of data, calls, and SMSs package; to get more, you will have to top up and purchase another data package.
Buying a local SIM card at the airport: we do not recommend buying a physical SIM card at the airport upon arrival, as the ones sold there are much more expensive (both Globe and Smart have stands at the exit, but they wanted to charge us 1050 pesos for the SIM card, about 18$), although they do include more data.
Once you have the SIM card, simply insert it on your smartphone, enter the PIN if there is one (in our case there wasn’t) and follow the steps to register the SIM card (more information below).

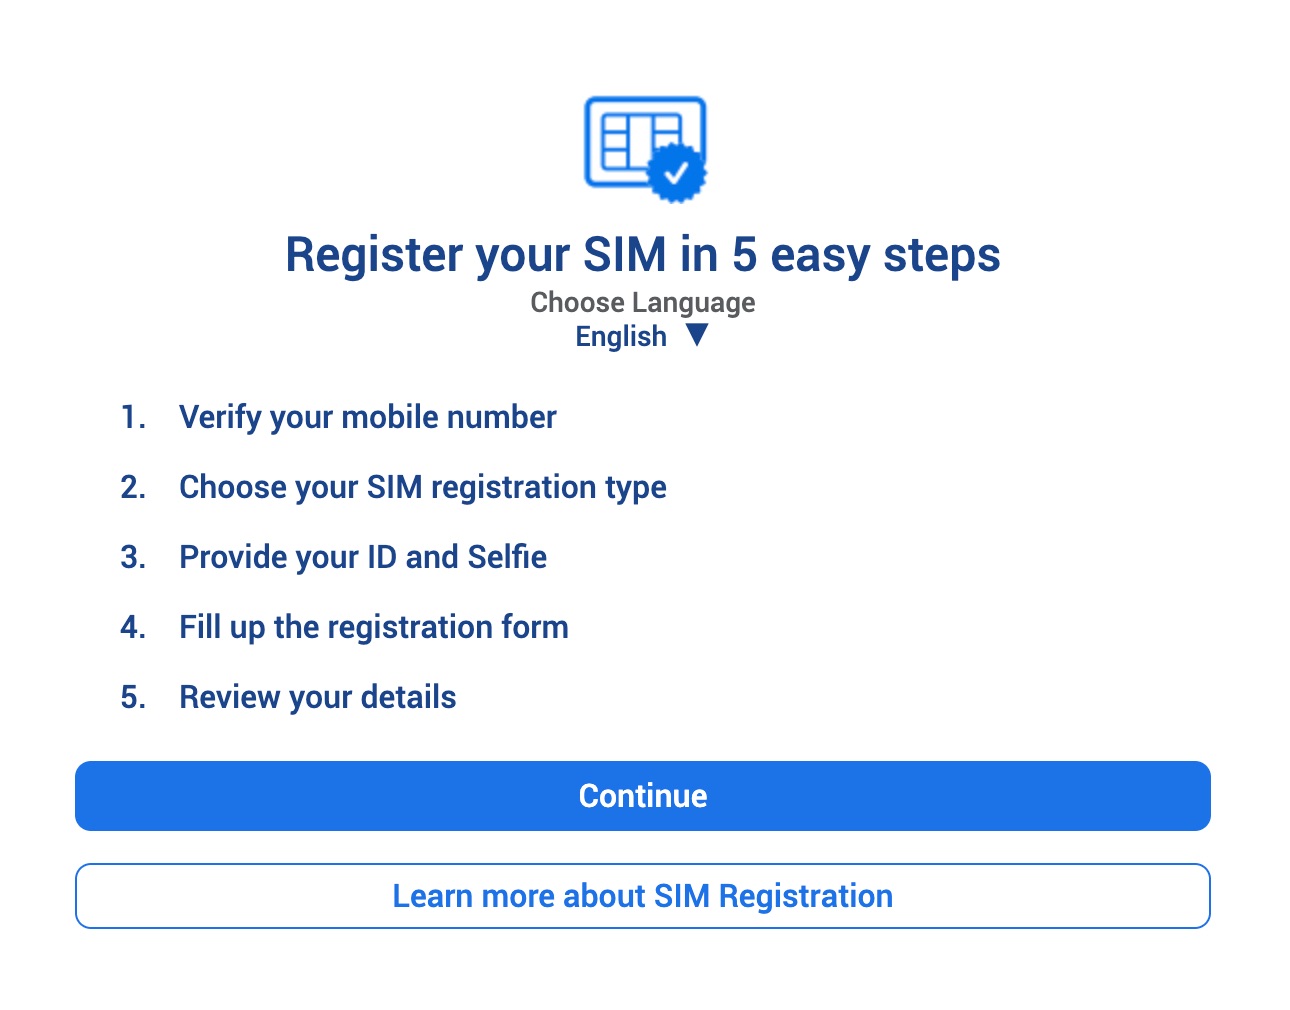
Mandatory registration of physical SIM cards (or local eSIMs) in the Philippines
Since 2023, it is mandatory in the Philippines for all SIM cards to be registered, i.e., associated with a real person and their identification details. Therefore, in order to use a local SIM card, you must register the physical SIM card you purchase, and as a tourist, it will be valid for a maximum of 30 days. If you are going to be in the Philippines for longer, you will need to purchase another SIM card and register it again.
To register, simply click on the link or use the QR code provided in the envelope you receive when you purchase the SIM card. The process is easy; just fill out the form and follow the steps requested. It only takes a few minutes, and approval and activation are usually almost instantaneous.
To register, you will need:
- Personal information: name, nationality, passport number, date of birth…
- Type of registration: foreigner/tourist
- Picture of you passport
- Photo of yourself (selfie)
- Address in the Philippines (you can use the address of your accommodation). You will need to fill in several fields. If you don’t know some of the information, try searching for the address on Google Maps and/or ask your accommodation provider.
- Proof of address: hotel/accommodation reservation with the address in the Philippines in PDF or similar format
- Departure ticket from the Philippines: email/PDF with the reservation or ticket for departure from the country
If you don’t want to go through all this hassle and your phone supports eSIM (and if it doesn’t support eSIM, you can try this adapter), the easiest option is to get an eSIM (such as Holafly, Sim Local, or Airalo), so that when you arrive in the Philippines, you will have internet access as soon as you land without having to do anything else.
How to top up your balance on Globe or Smart
You can top up your balance and purchase another data package from your mobile phone in several ways or in person at any sari-sari, 7-Eleven, or convenience store.
The easiest way is usually with the official Smart and Globe apps (that’s what we did). You can pay by card (in our case with Revolut or Wise to avoid paying fees), and it worked perfectly for us in both cases (although on a second top-up the payment failed a few times, we tried again the next day and it worked). You can directly purchase a data package and pay the amount by card, or top up the amount of pesos you want with your card and then purchase the data package, which will be deducted from your balance.
If you are unable to top up/pay for a data package through the official apps, and you do not want to/cannot go to a sari-sari or convenience store, you can also top up online through services such as Paypal’s Xoom or Recharge.com (in both cases, you will pay a commission and/or a less favorable currency conversion rate).
You will receive an SMS confirming the top-up and/or purchase of the data package. In the official apps, you can check how many GB of data you have left at any time.
How to get more data packages on Globe or Smart
Once you have enough credit, it is very easy to purchase a new data package from your own mobile phone using the official apps. If you don’t have enough credit, you can also choose the data package from the apps and pay immediately by card (such as Revolut or Wise to avoid commissions or unfavorable currency exchange rates).
The packages available on Globe and Smart vary (sometimes there are offers, and often in addition to the total GB, in some cases you get extra GB for specific apps – social media, streaming, etc.).
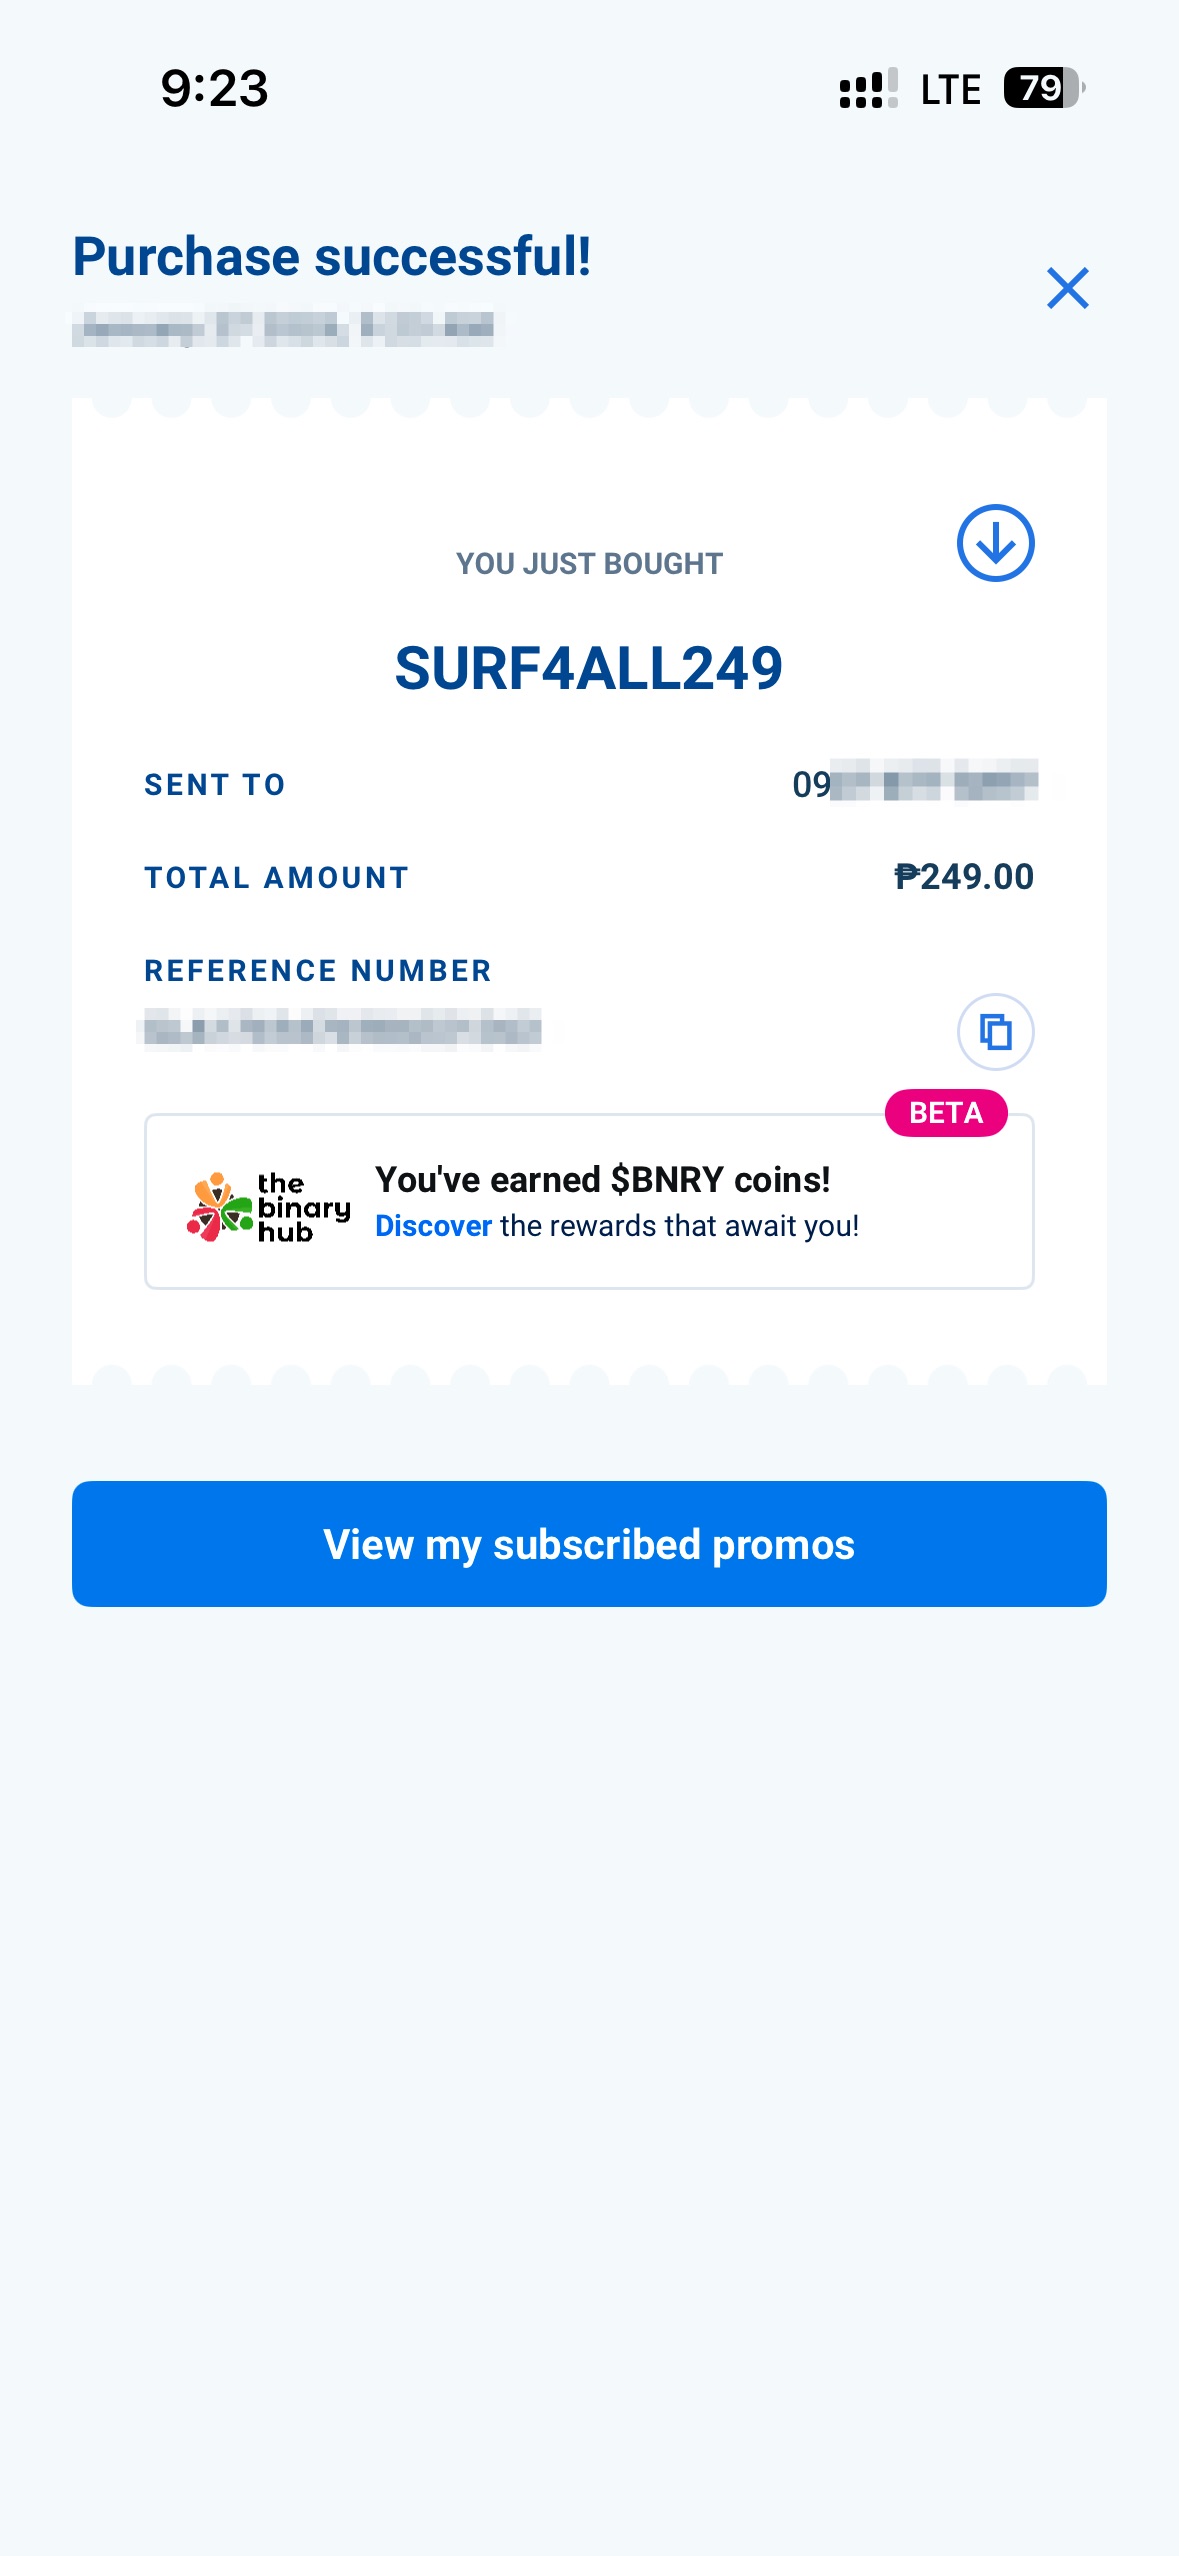
You can see the available packages (they vary in what they include and the number of days) that best suit your needs directly in the official Globe and Smart apps.
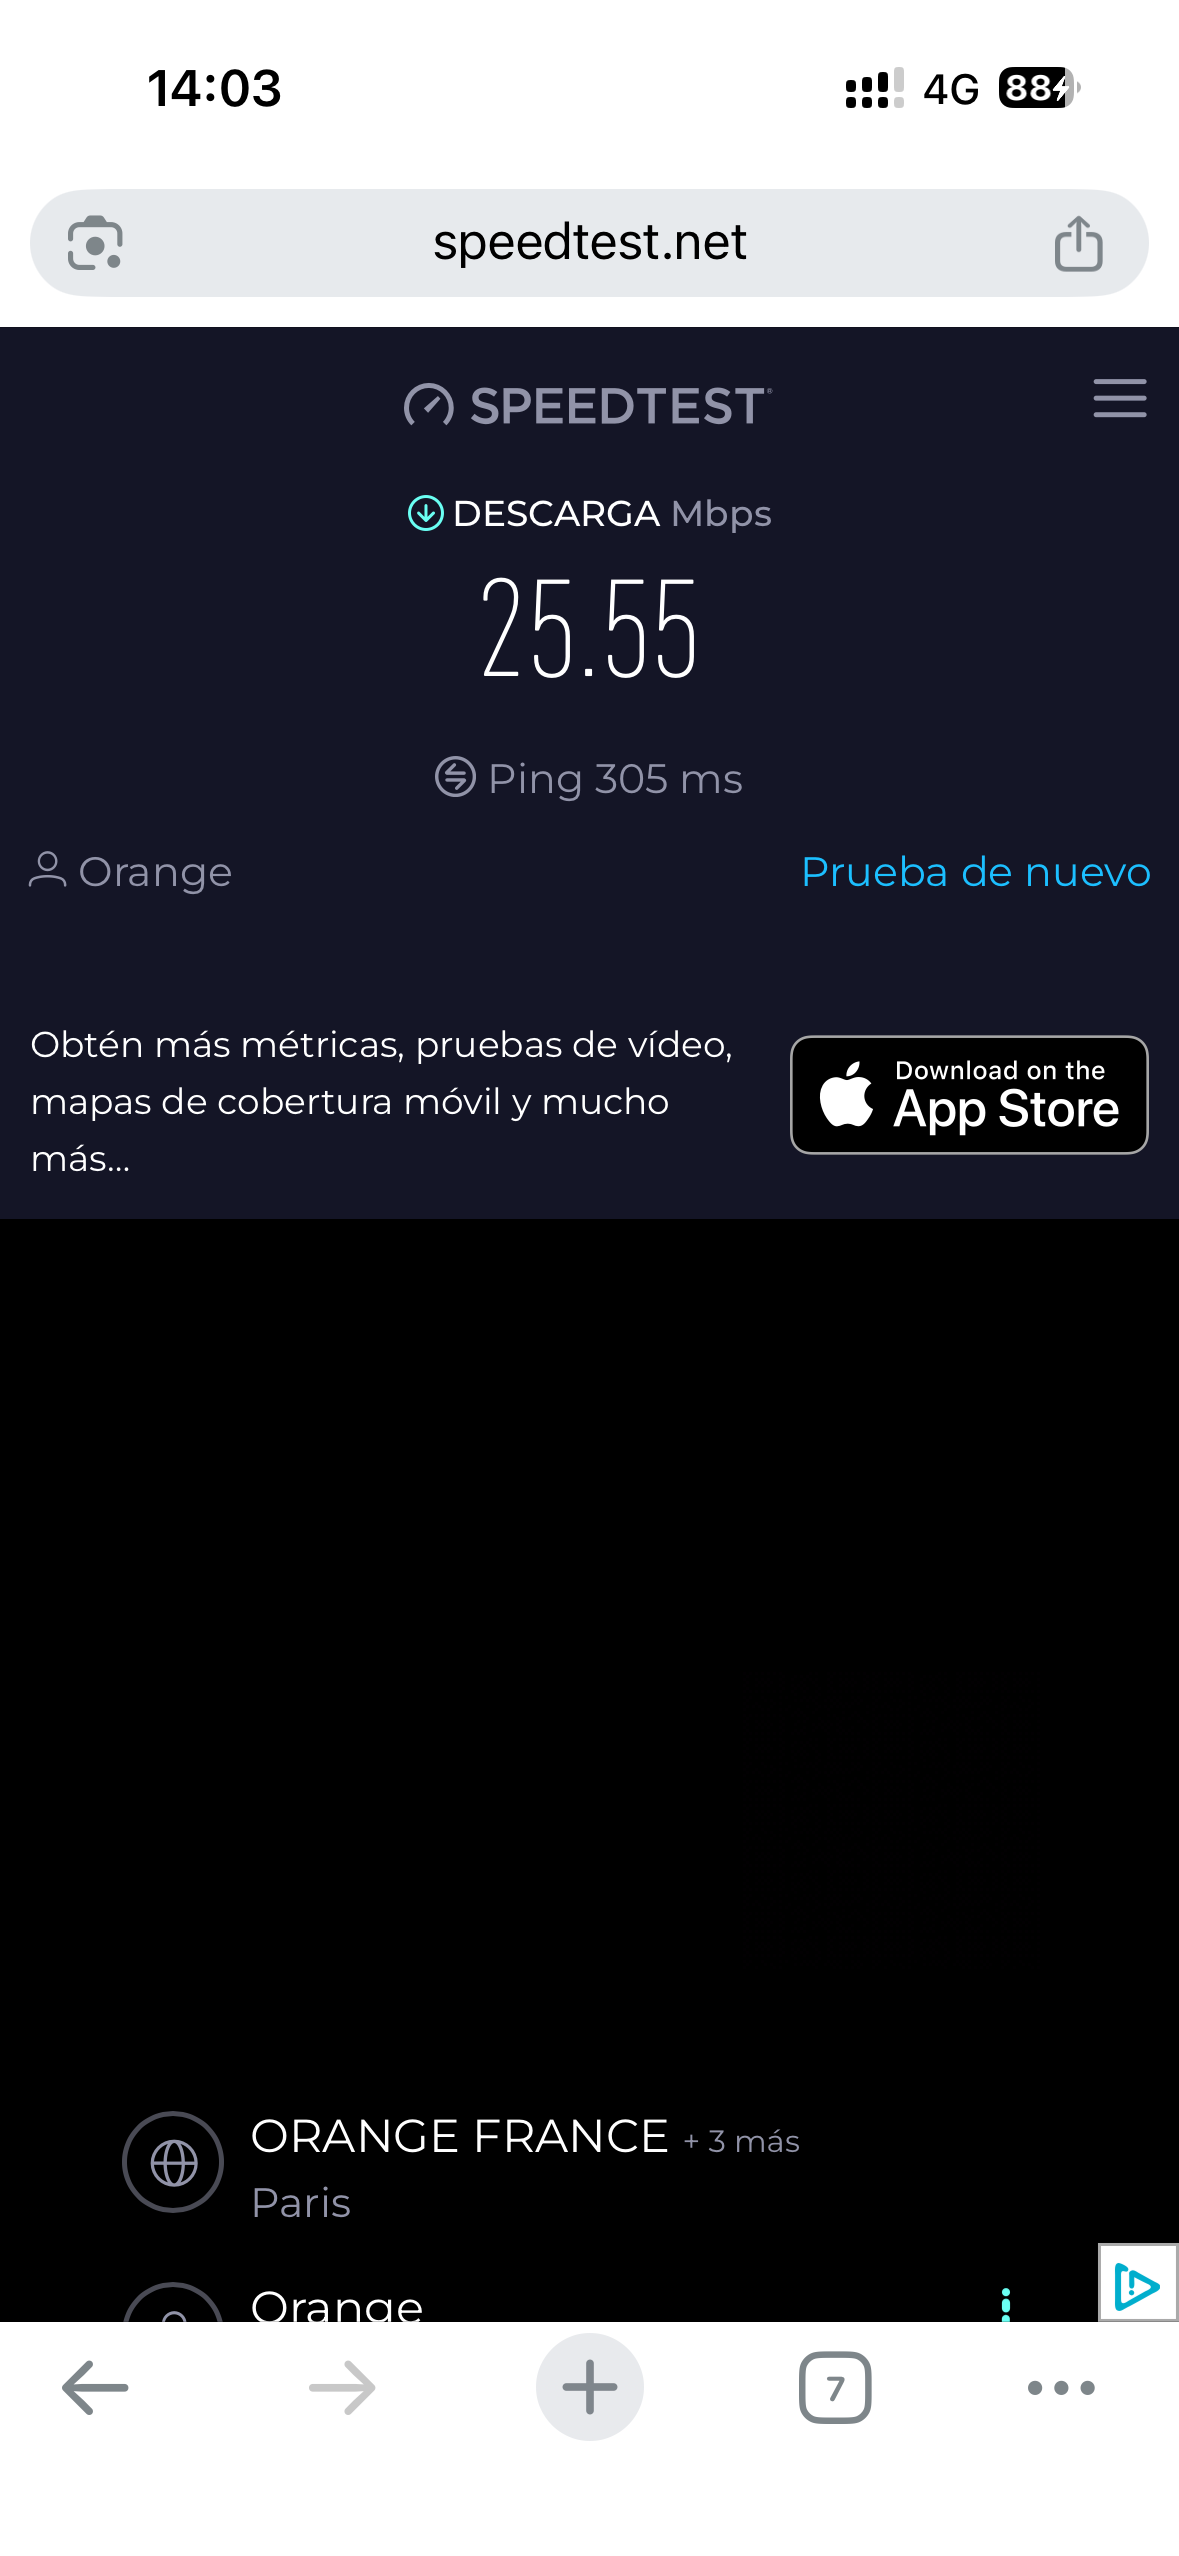
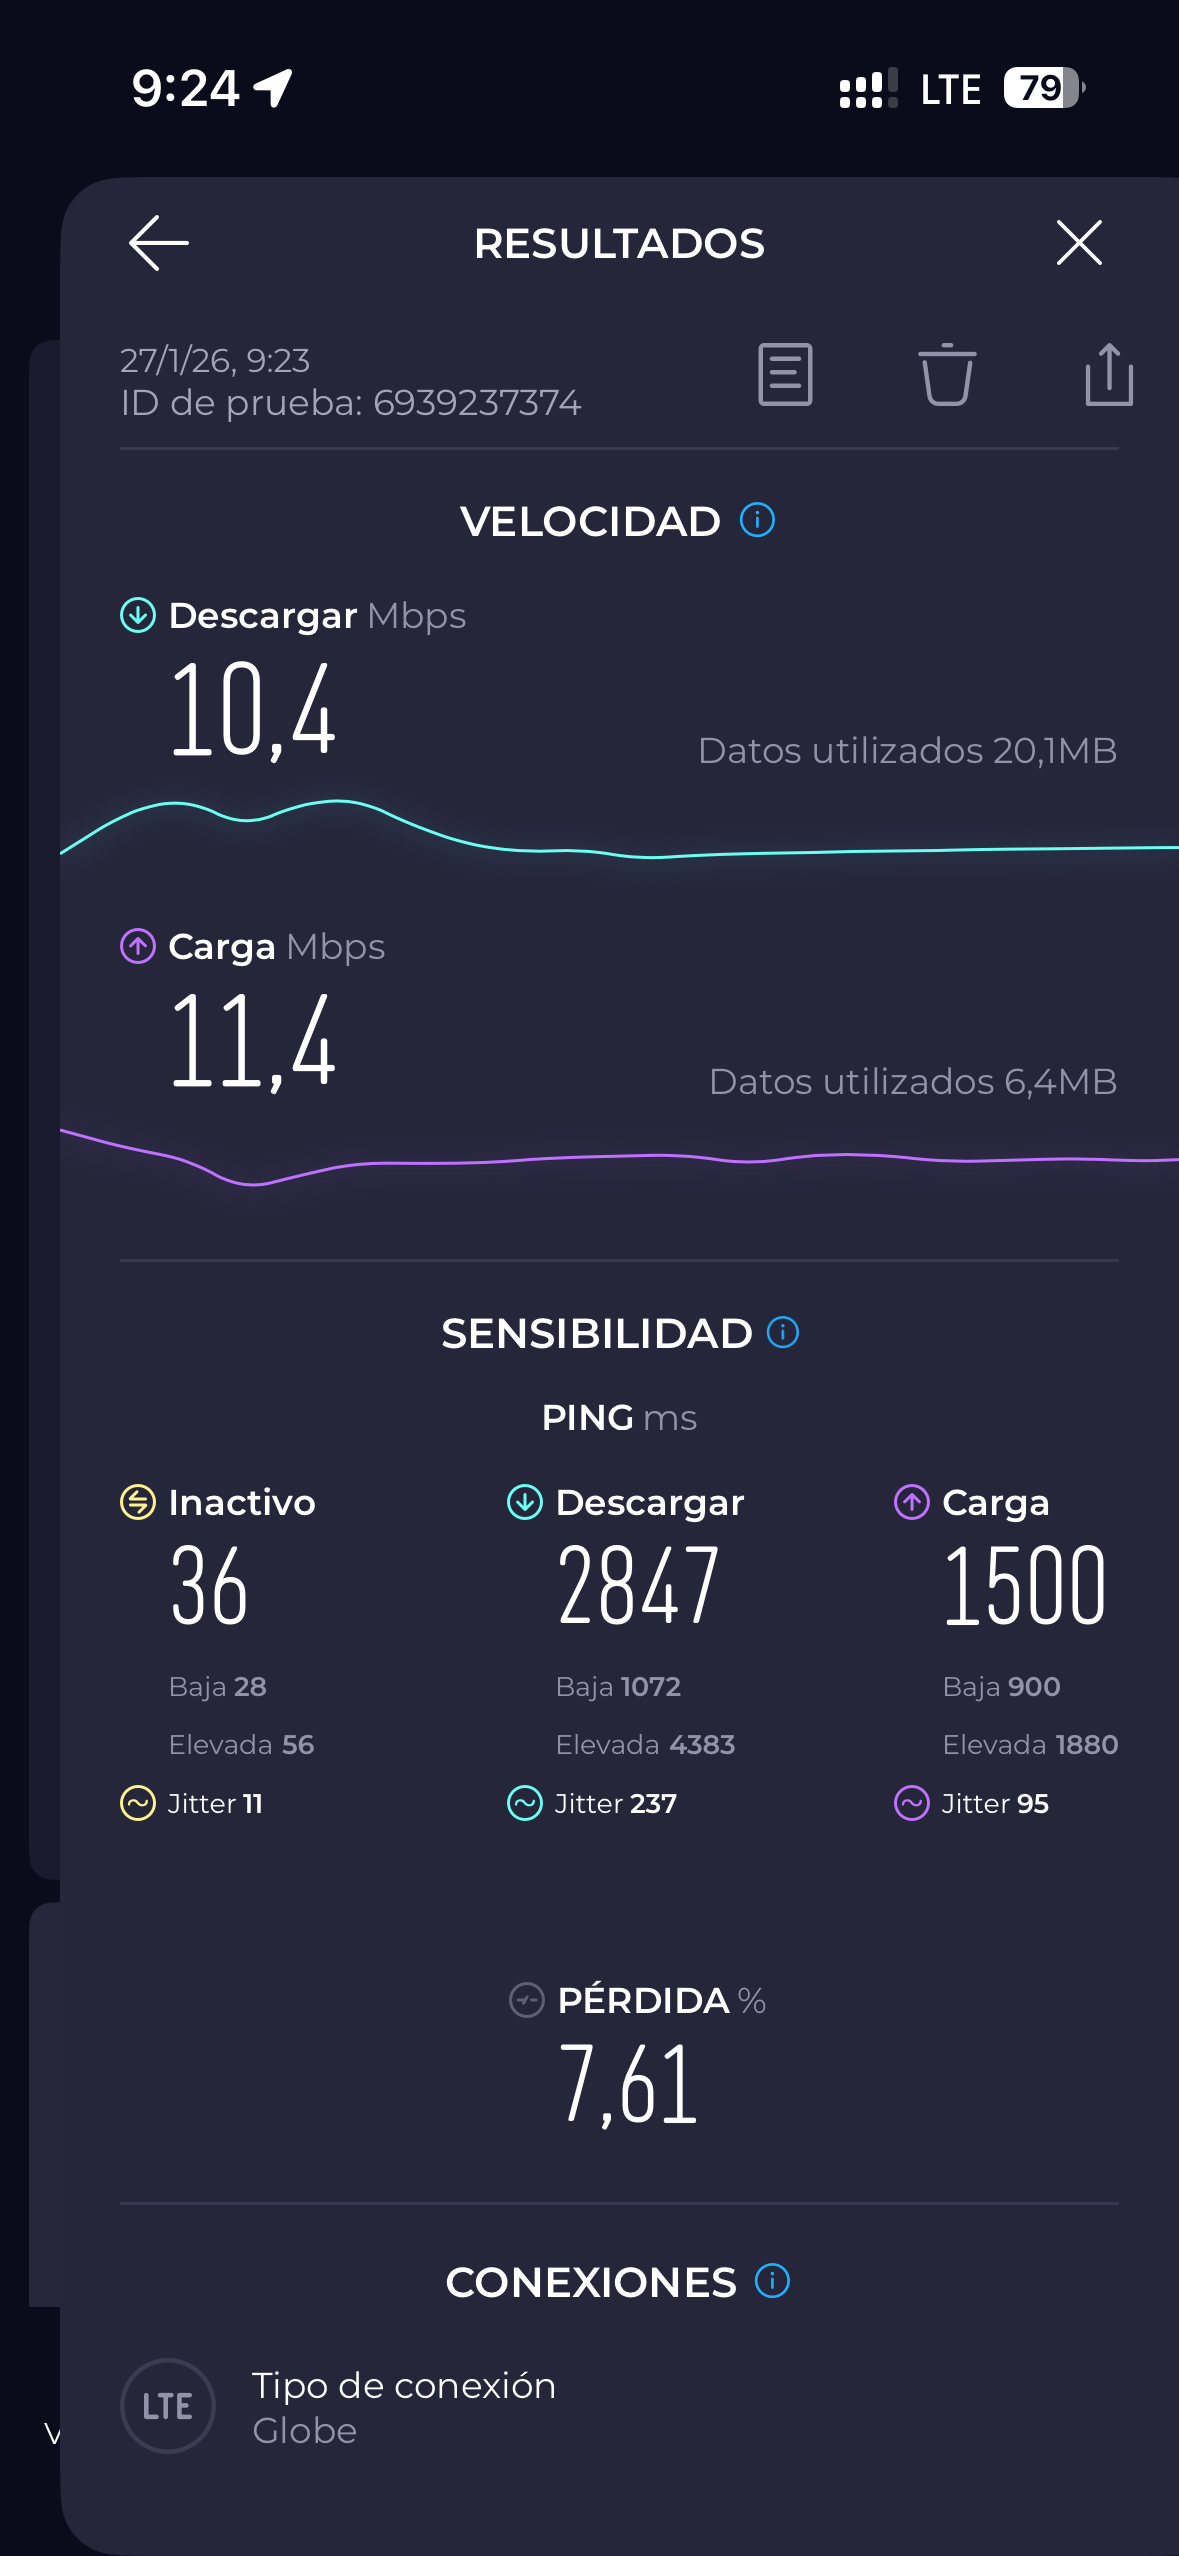
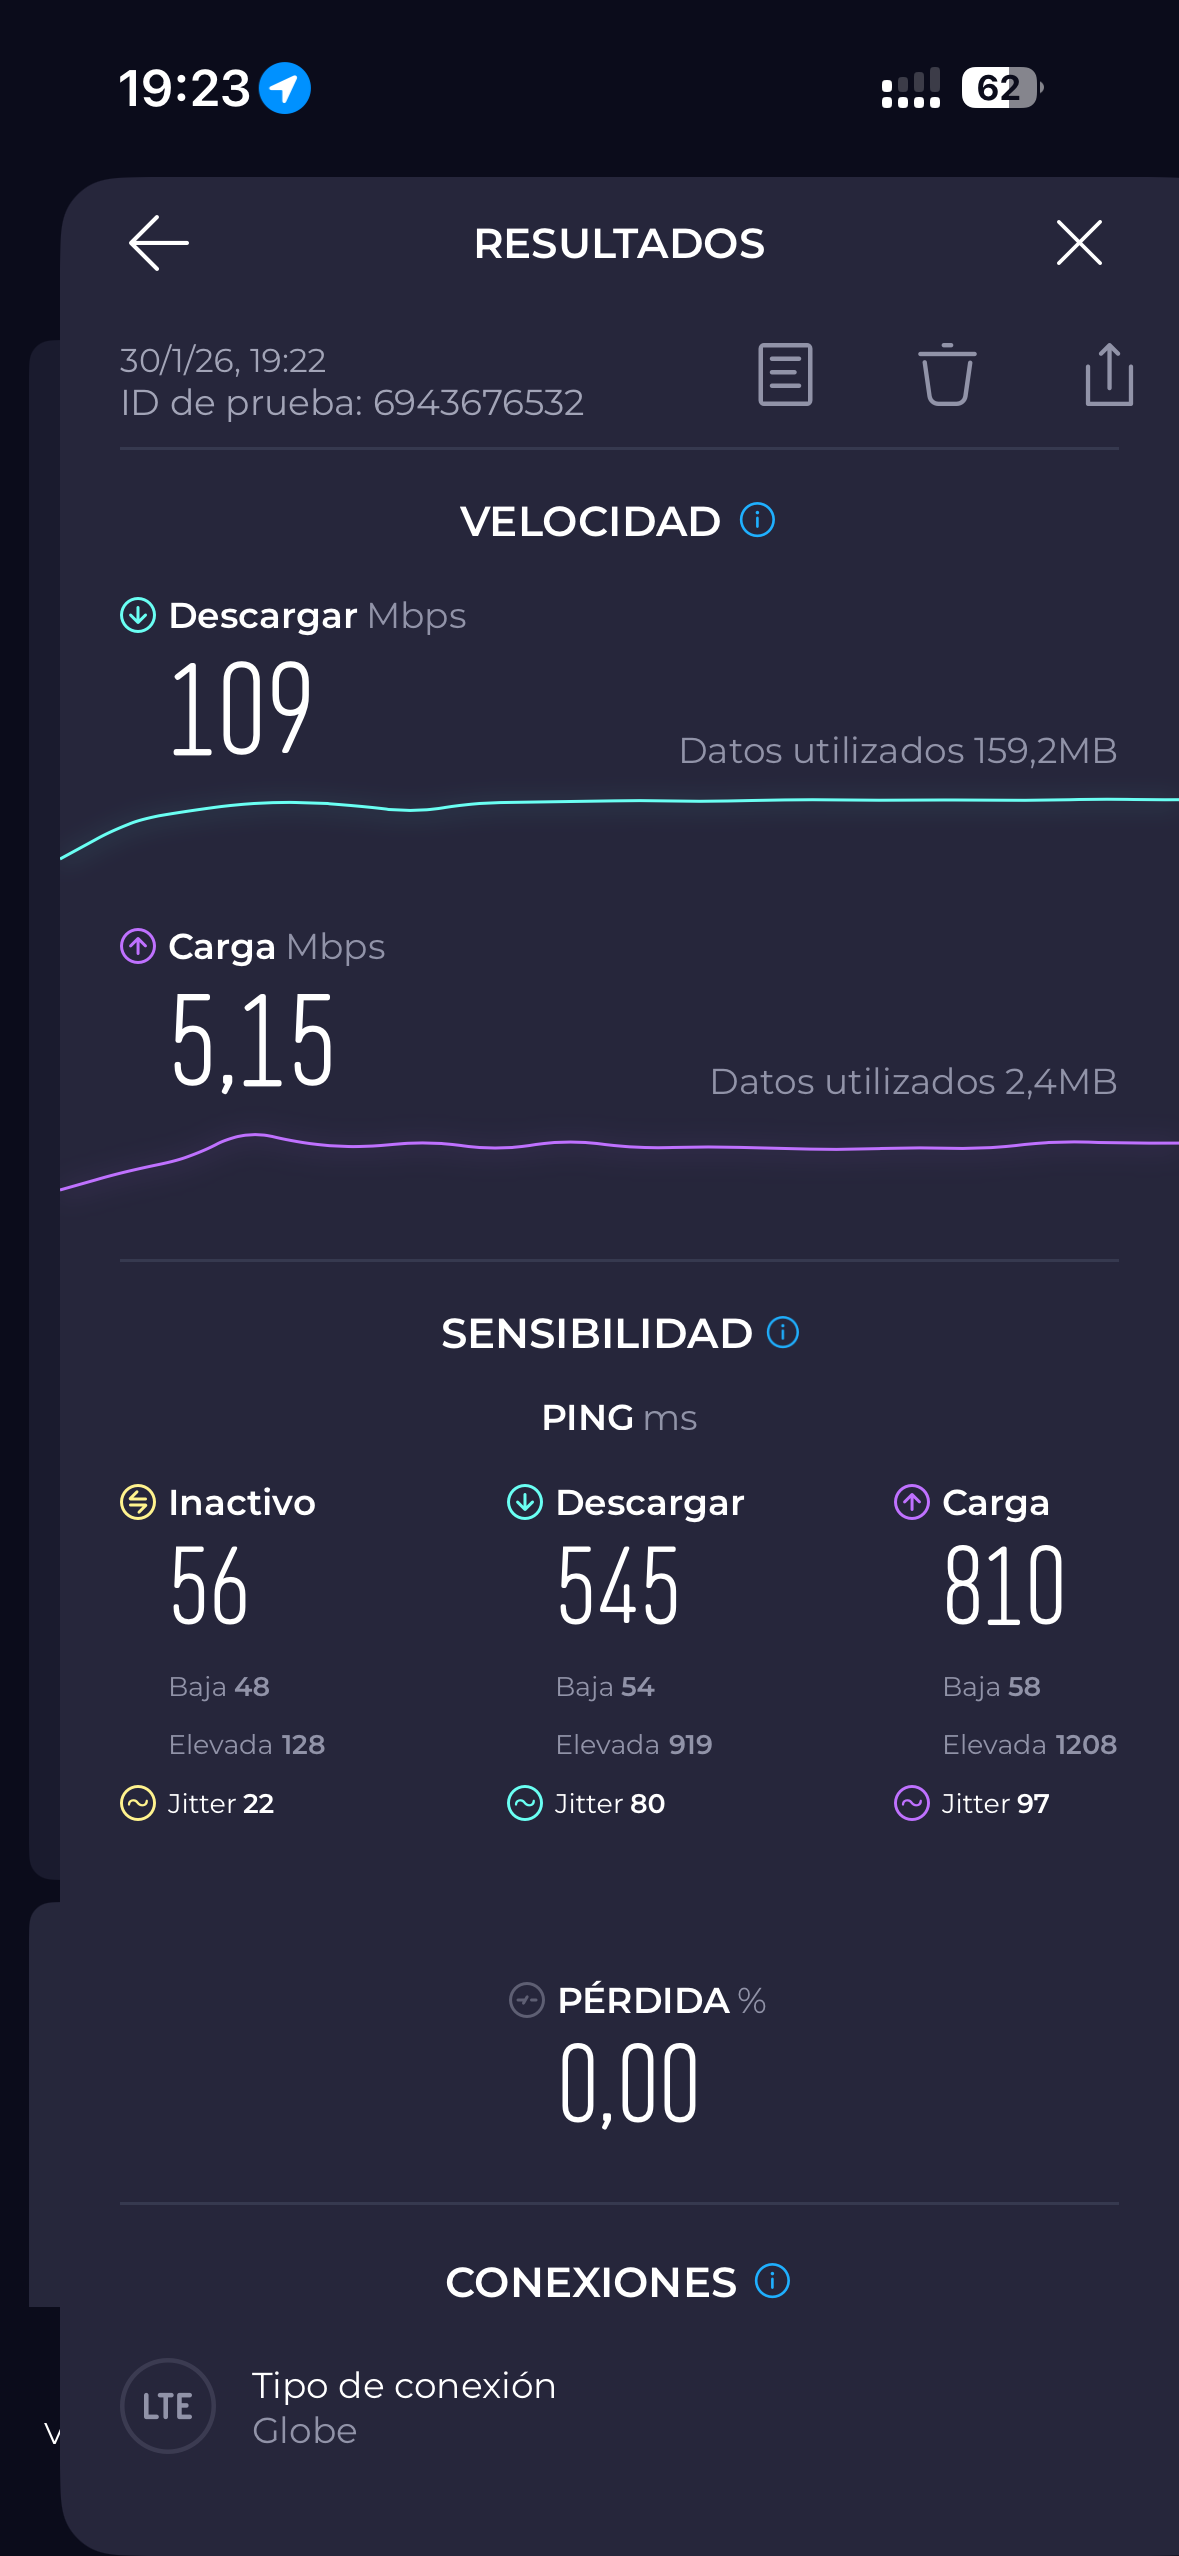
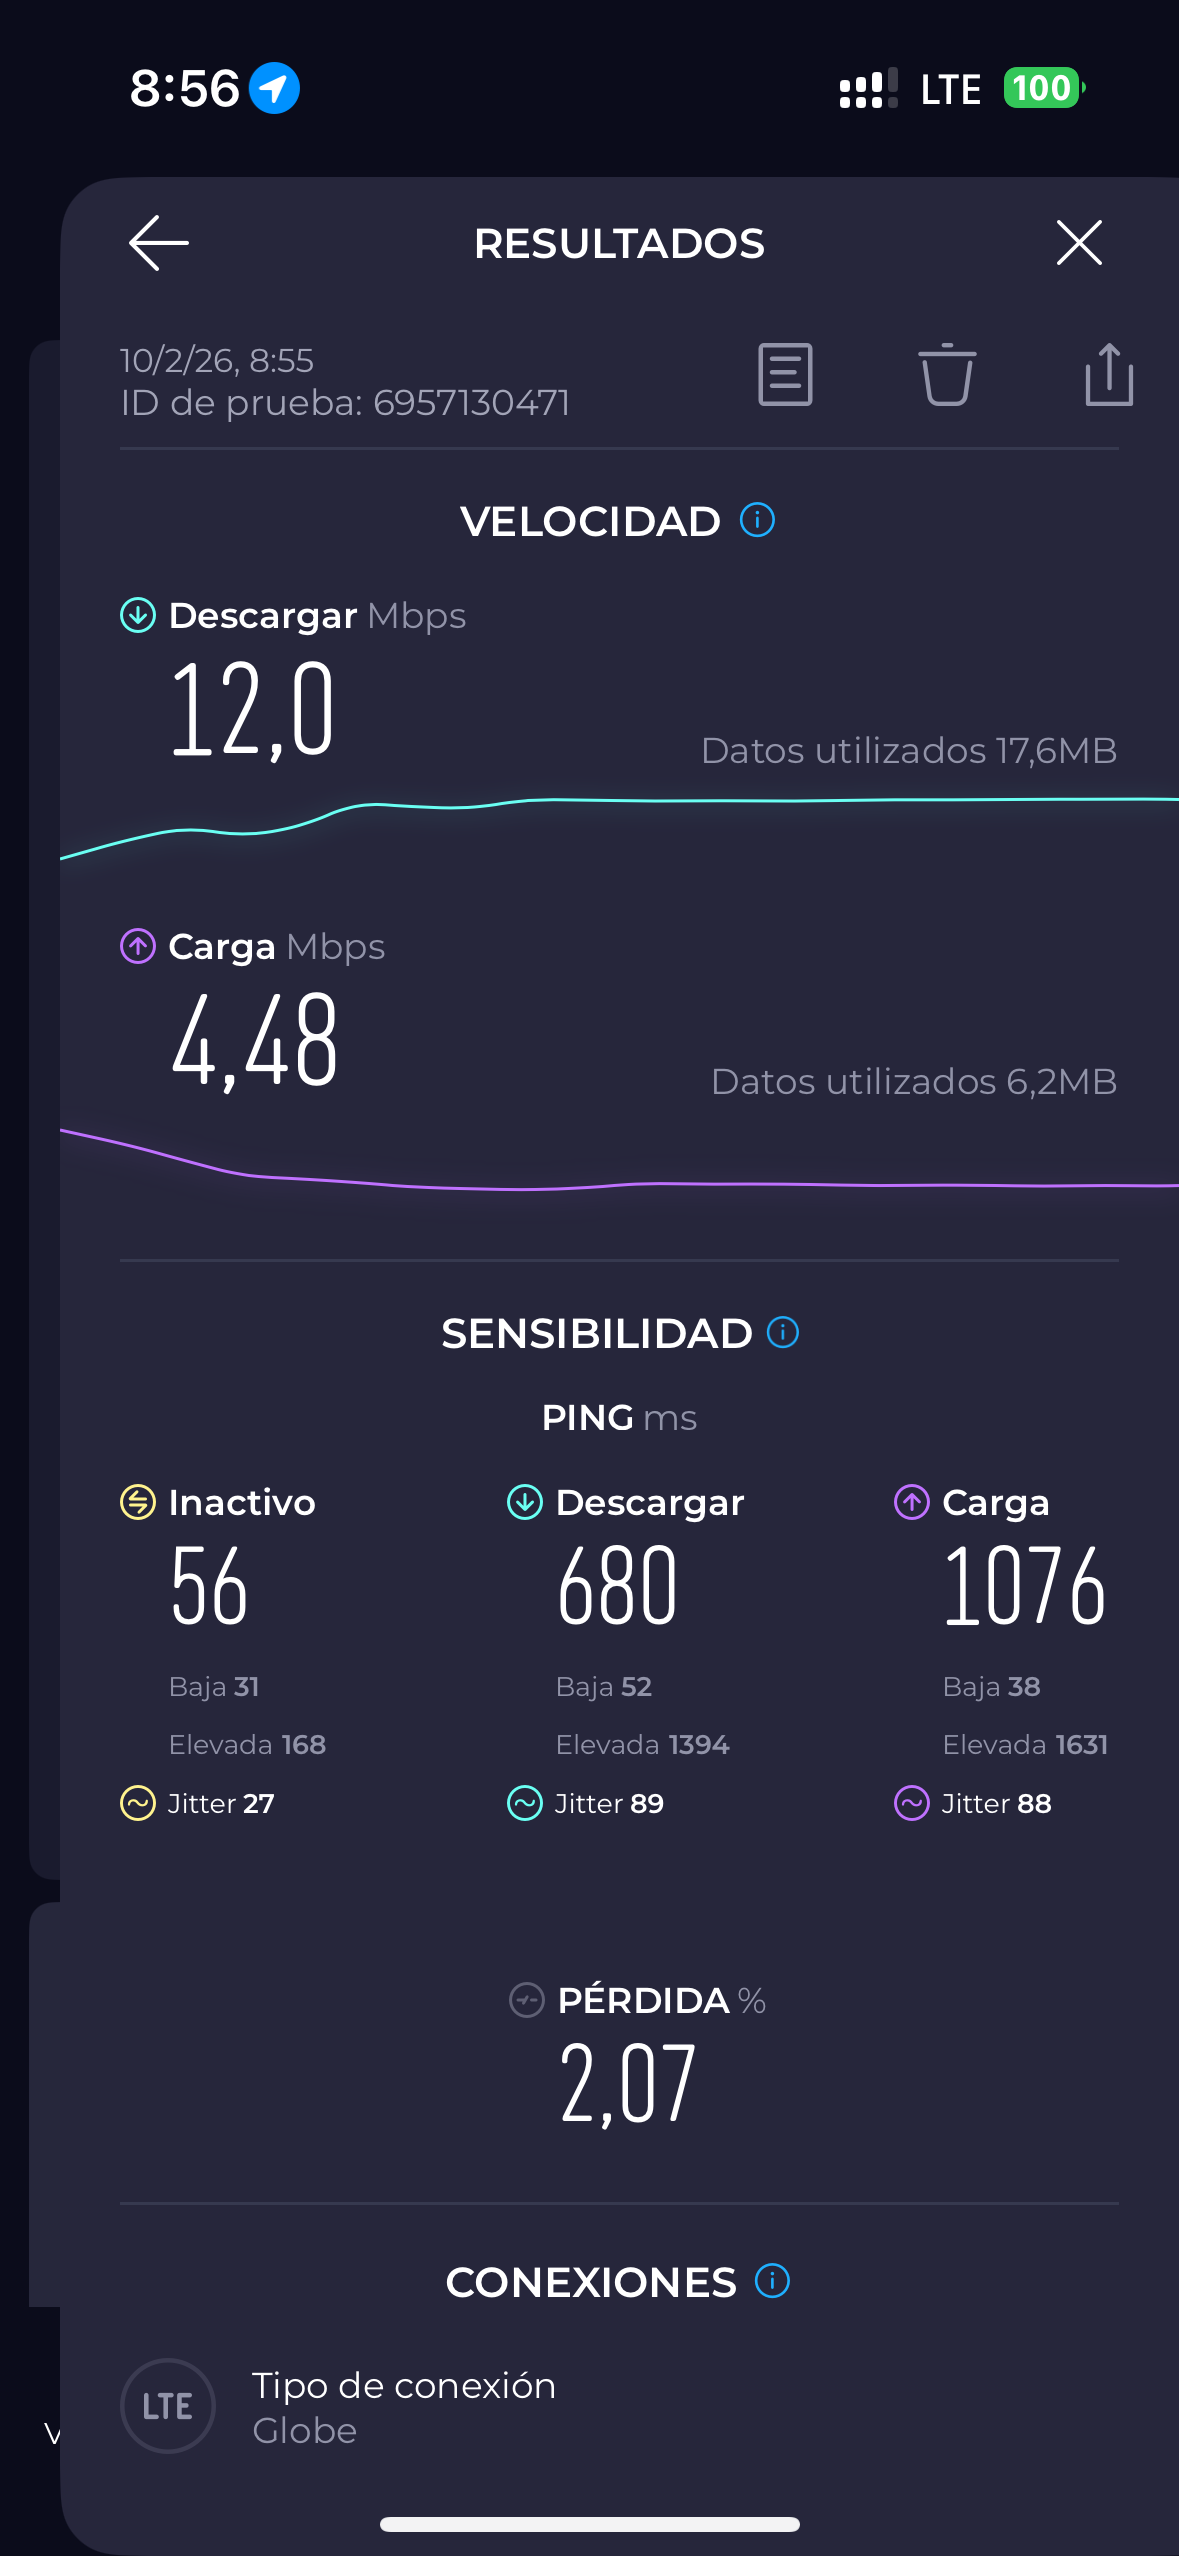
Internet speed and coverage of Globe and Smart
As we said, the internet connection in the Philippines is not the best, so don’t expect everything to work quickly and/or perfectly. Even so, we almost always had some kind of connection on the islands we visited, except in Siquijor where, depending on the time of day, the internet was completely unusable with both Globe and Smart (Smart worked a little better in Siquijor, but still poorly; in the rest of the places, Globe worked better for us).
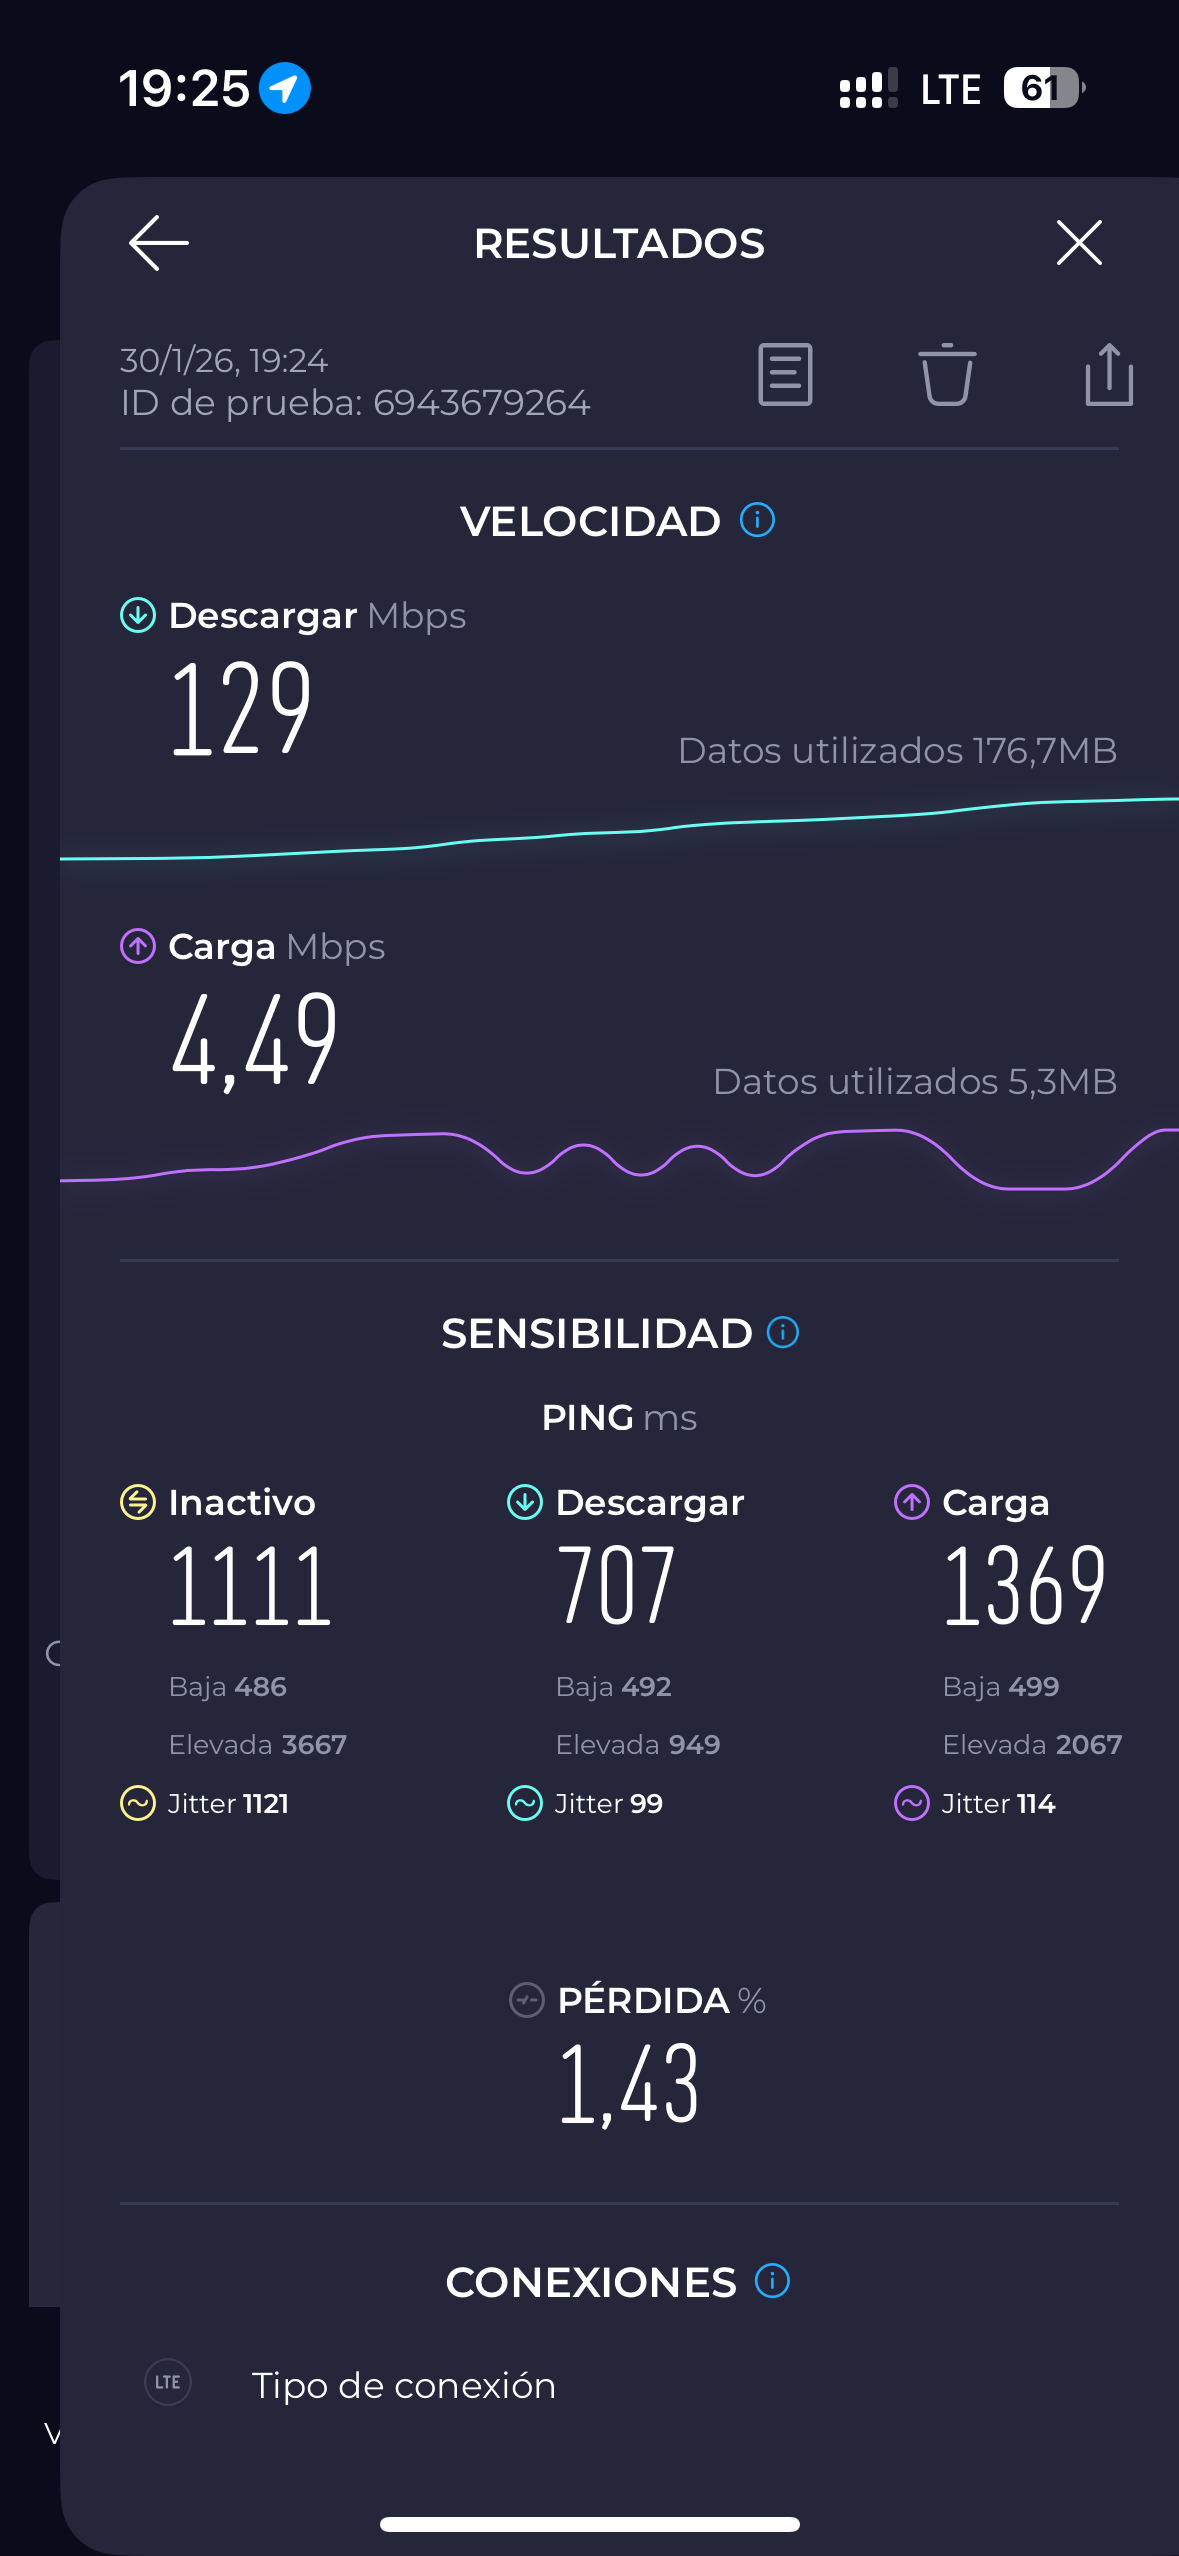
Here are some screenshots of speed tests we did in different places in the Philippines:
Alona Beach (Panglao) – Globe
Camiguín – Globe
Siquijor – Globe
Siquijor – Smart

Philippines country code
In case you need it, the country code for the Philippines is +63. Keep this in mind when adding local numbers (for accommodations, tour agencies, etc.) to your contacts list that you want to contact via WhatsApp or SMS.
Remember that with a local SIM card, you can tether your smartphone to share your internet connection with other smartphones, tablets, laptops, etc. You can also do this with eSIMs, although there may be limits (if you need to tether, check before purchasing the eSIM). If you do this, remember to bring a good power bank with you, as it consumes a lot more battery power. At RandomTrip, we travel with these two:
- This 10,000mAh ANKER, which can charge the battery a couple of times
- This Xiaomi 20000mAh power bank, which can charge your smartphone about 4-5 times
If you prefer, another good option is to buy a portable router and take it with you to each country you visit to insert the SIM card,for example this one
We hope this helps, and we hope you enjoy your trip to the Philippines!
